The secret source of my creativity:
This is where the magic happens; the spot where all my best ideas come to life.
Gently swinging in the hammock at the end of my garden.
It’s the perfect place to recharge and let the ideas flow.
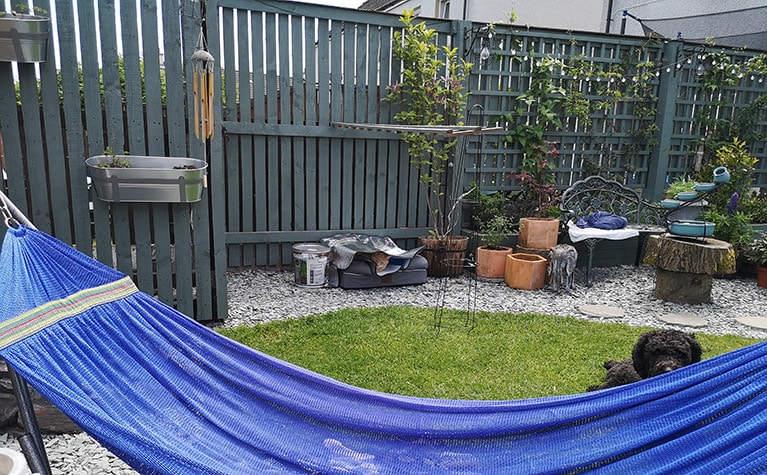
Without further ado, here’s the tour:
Some tour! click here to learn more about the making of this video
But the garden wasn’t always this picturesque. Once it was a desolate wasteland of concrete slabs. So how did we transform this space?
The Garden Transformation
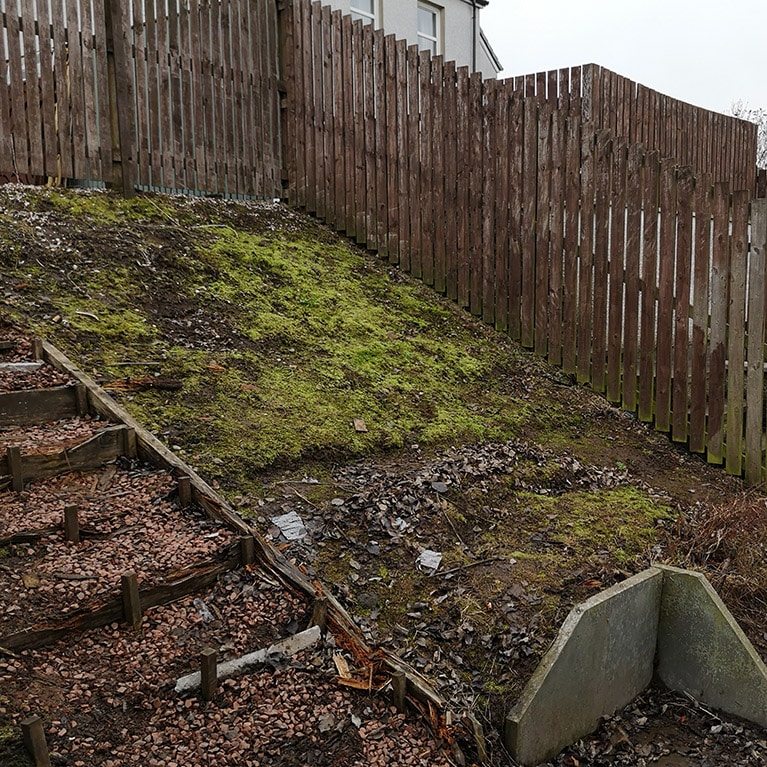
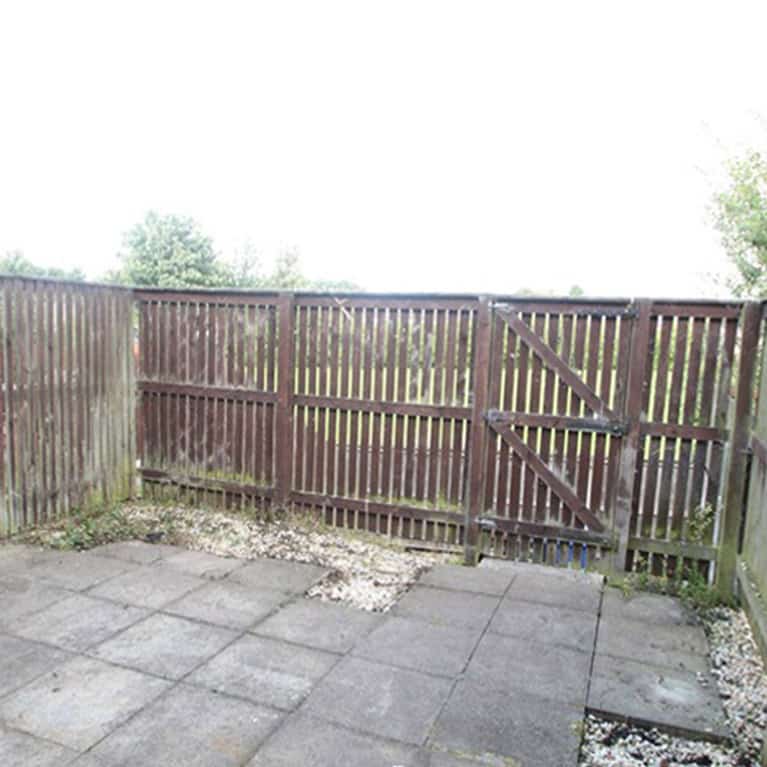
Before we bought our house, we had never had a garden of our own. At first, we didn’t recognise the potential of the space at the back of our home which was initially occupied by concrete slabs and a (huge) shed. The awkward slope beyond the fence with decaying steps did nothing to inspire us. The whole garden was a complete eyesore, and we thought any hopes we had for transforming it were beyond our budget and our expertise, but luckily we were wrong.
A Wife With an Idea
But never underestimate a wife who longs for sunshine! As our garden is North-East facing and we had a shed blocking most of the useable garden space, we only had sunshine in our garden until mid-morning, and my wife was soon tired of being plagued by shade.
We agreed to extend the garden by building a retaining wall and moving the shed to a lower level. As this required a retaining wall of nearly 2m, we had to call in the experts for some help! Our builders also gave us some sturdy concrete stairs, which were a huge improvement over the previous rotten wooden ones! But the best improvements were still to come…
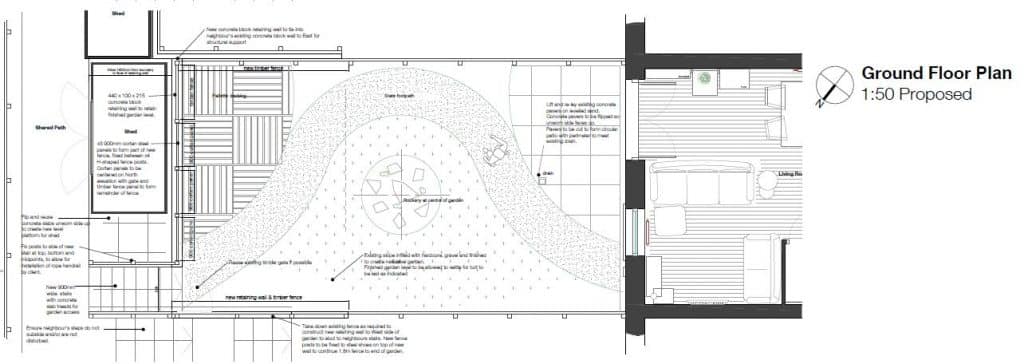
Landscaping Plans
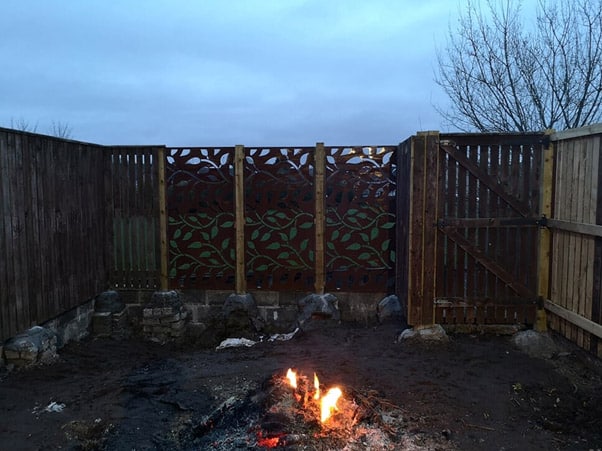
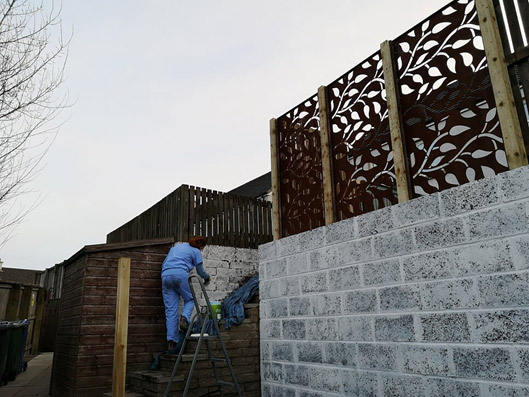
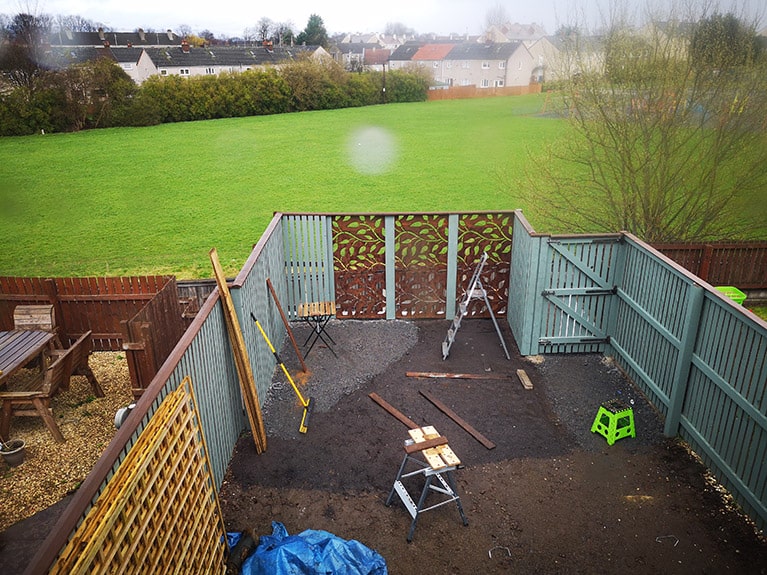
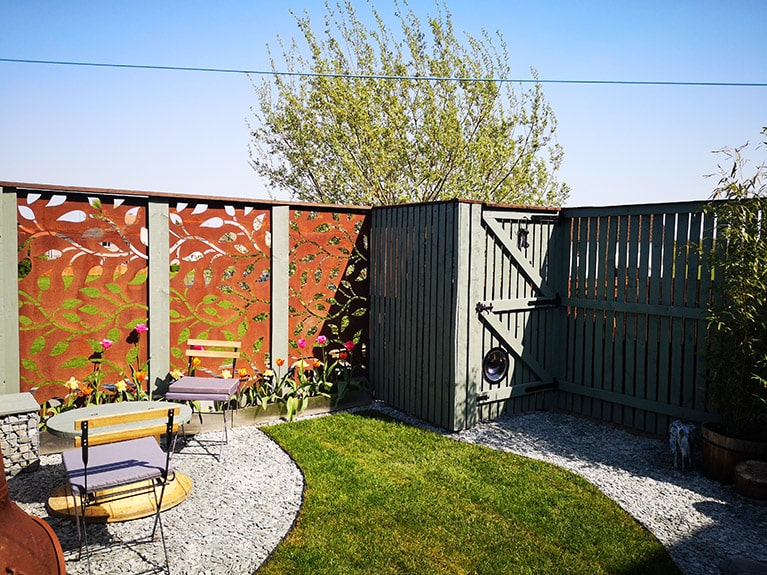
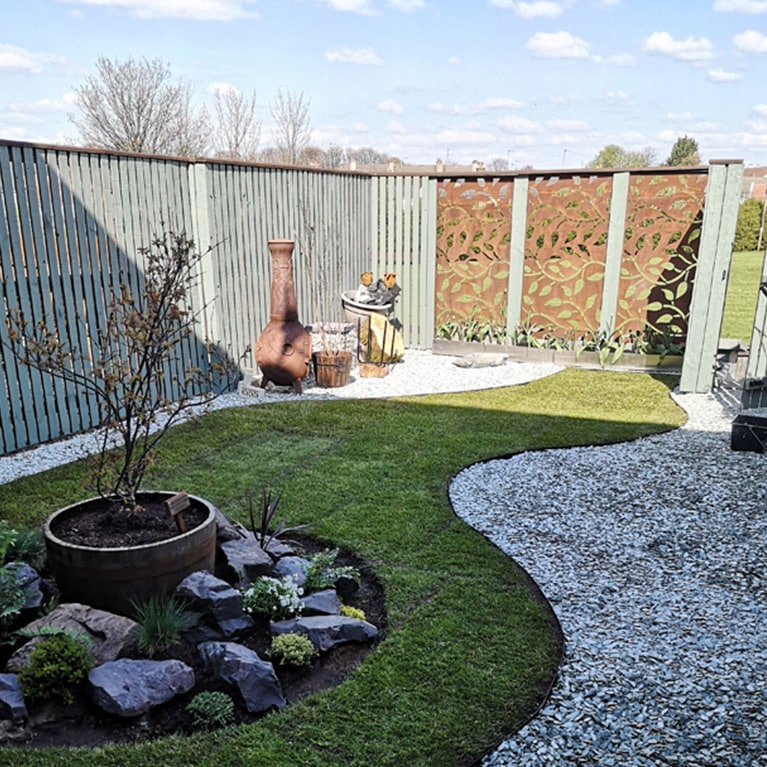
With the hardscaping left to the professionals, it was time to get our hands dirty and start grafting! We were determined to make this garden special, and we had already put our mark on the garden by using beautiful corten panelling for the end of our garden that we found at the back of a garden store closing down sale. We knew these panels would draw your eye to the end of the garden, and give visual interest over a standard fence. We painted the rest of our fence in an eye-catching blue-green that was sure to match the slate chips we ordered and contrast with the corten panels.
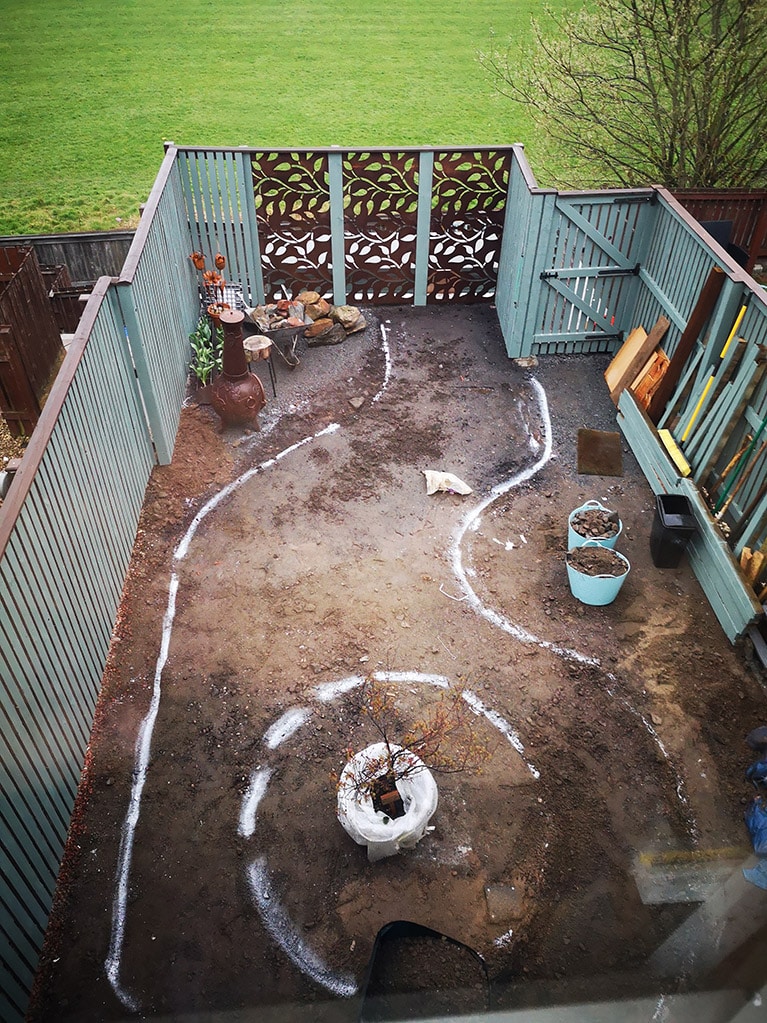
Designing the Garden
The next job was translating the paper plans to reality! We marked out our garden spaces using spray paint, and the space really began to come alive. Marking out spaces is an exciting step, you can start to get an idea of what the end product will feel like. This was one of the longest stages of making the garden, we spent a long time preparing the soil for turf and compacting the hardcore for the path by hand with a sledgehammer. It can be tempting to rush this to move on to more fun things but spend time making sure you get this part right – preparation, preparation, preparation!
How to build your own planters for free
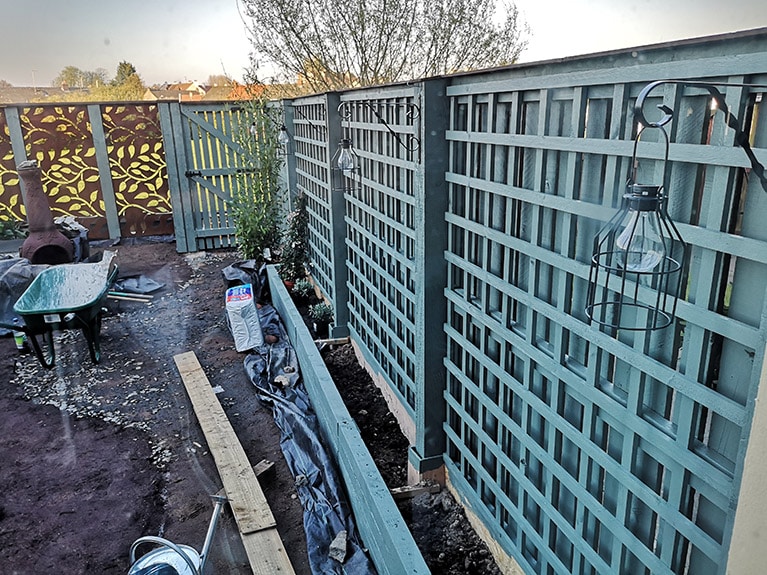
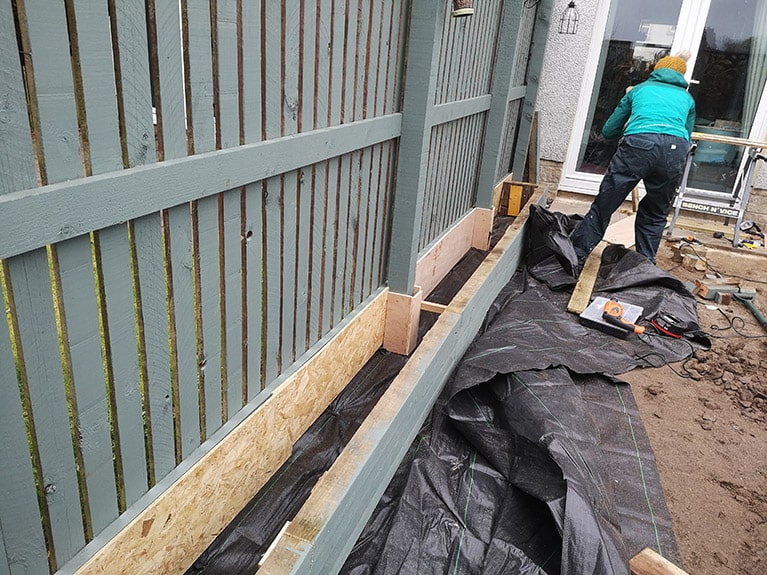
As we were on a budget, we built planters out of discarded fence posts and other wood scraps rather than buying new timber. It felt good giving purpose to something that was previously unwanted, and was an excellent way to keep cost down. With a lick of paint, they were good as new! We mounted trellis’ to the fence that we also painted to match and installed some cheap solar lights to give night-time interest.
Laying the turf
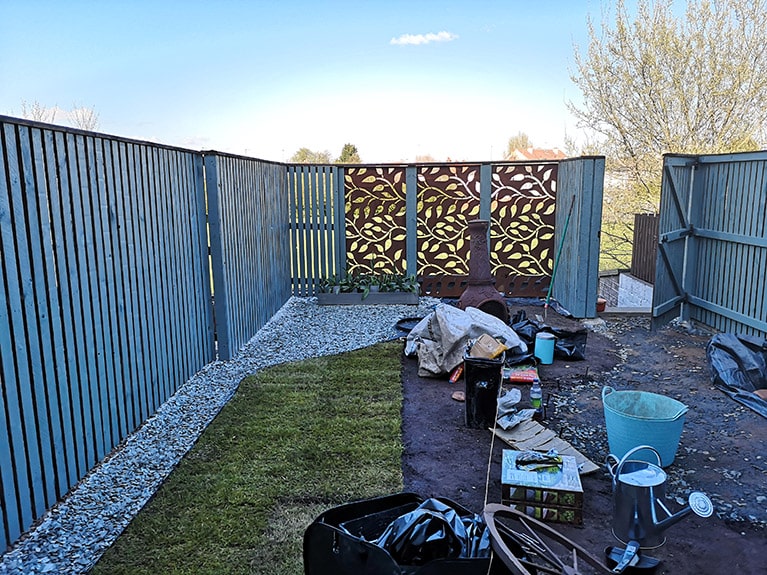
We laid weed matting over our path areas and put down green slate chips, which wonderfully matched our painted fence. Next, we lovingly laid the turf which took us late into the night! This was an enjoyable part as it transformed the garden quite literally overnight! It’s best to save this bit until you’ve finished most of your heavy lifting, as you should avoid walking on freshly laid turf for the first few weeks. Remember to level your area first and water that grass with love.
Planting Out
The Bit You’ve All Been Waiting For!
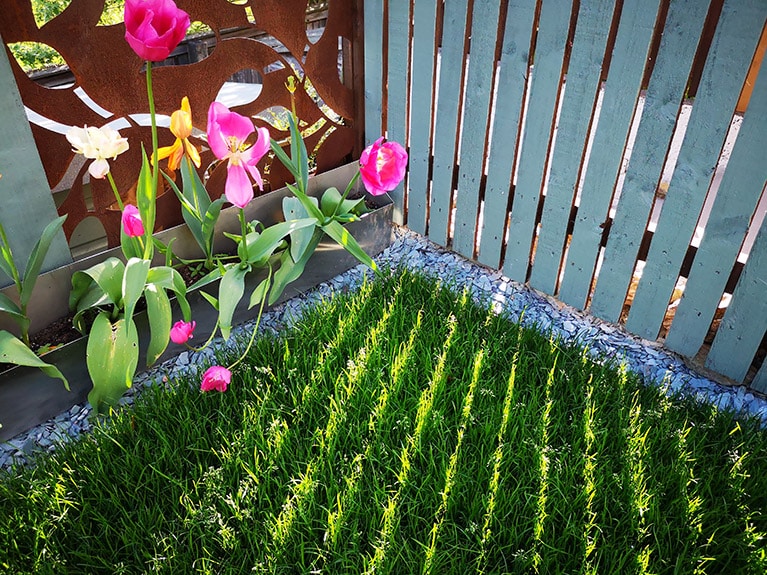
The next part of the garden was definitely our favorite. We bought plants to fill our planters and our rock garden area.
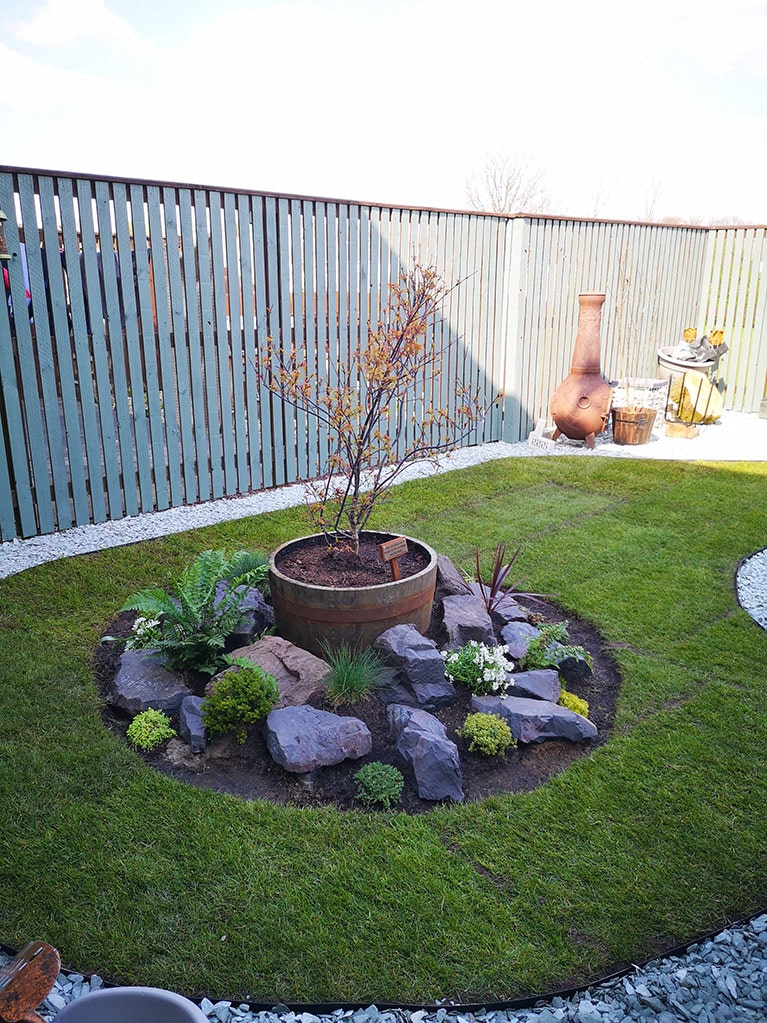
We researched which plants would thrive in which areas but weren’t afraid to try new things and experiment!
Stylish Seating on a budget
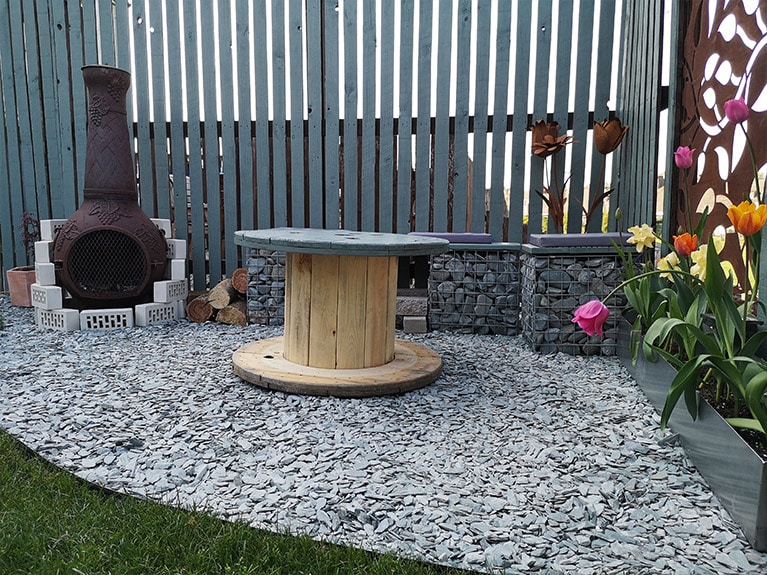
A garden is nothing without somewhere to sit and enjoy it, but garden seating was not something we were able to splash out on. Instead, we repurposed an old cable spool and used gabion baskets with old decking boards on top for seating. A secret trick to keep cost (and weight) down is only to face your gabion baskets with stones and infill the rest with polystyrene. This way, you use less decorative stones and keep the weight down!
Bringing your garden to life with night lighting
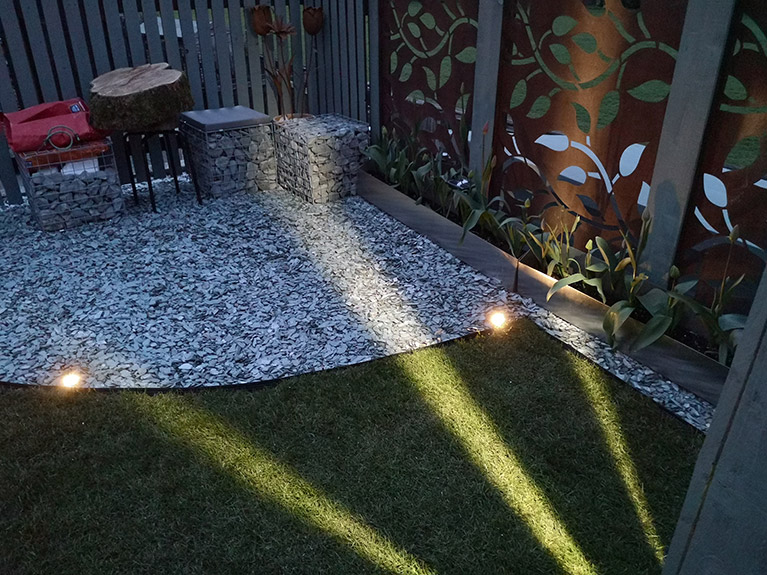
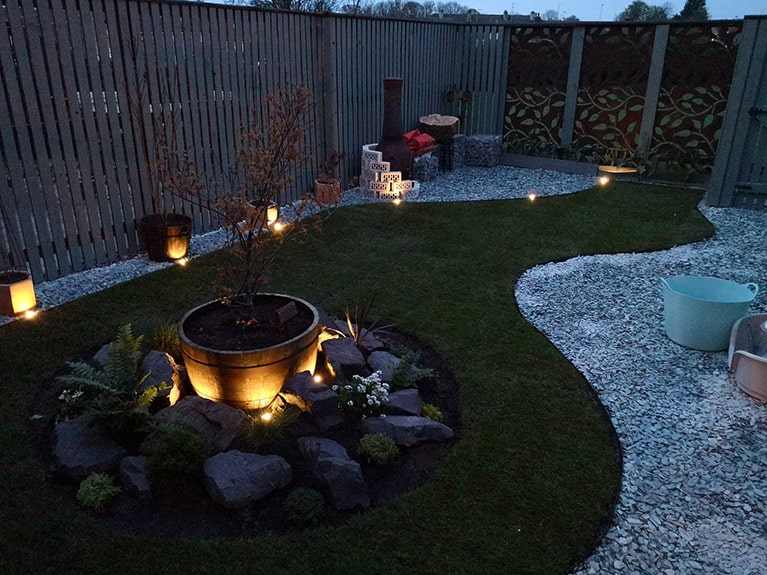
Lighting is easy to forget about when it comes to designing a garden but it is worth thinking about so you can enjoy it any time of day. We used solar lights emphasise key parts of our garden.
Set your garden apart with finishing touches
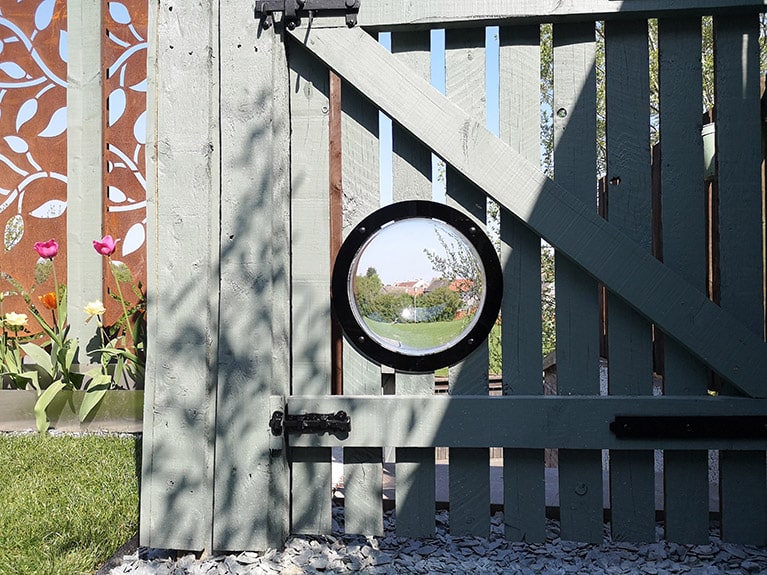
Our pets are a big part of our life, we installed a “doggy window” for our Spanish Water Dog Ramsey, and creating a fence-top-terrace for our cats. We also installed a couple of water features (one we mortared and built ourselves!) so we could enjoy the soft sound of trickling water.
The Results
Before & After
Hover over the images to see before and after pics.
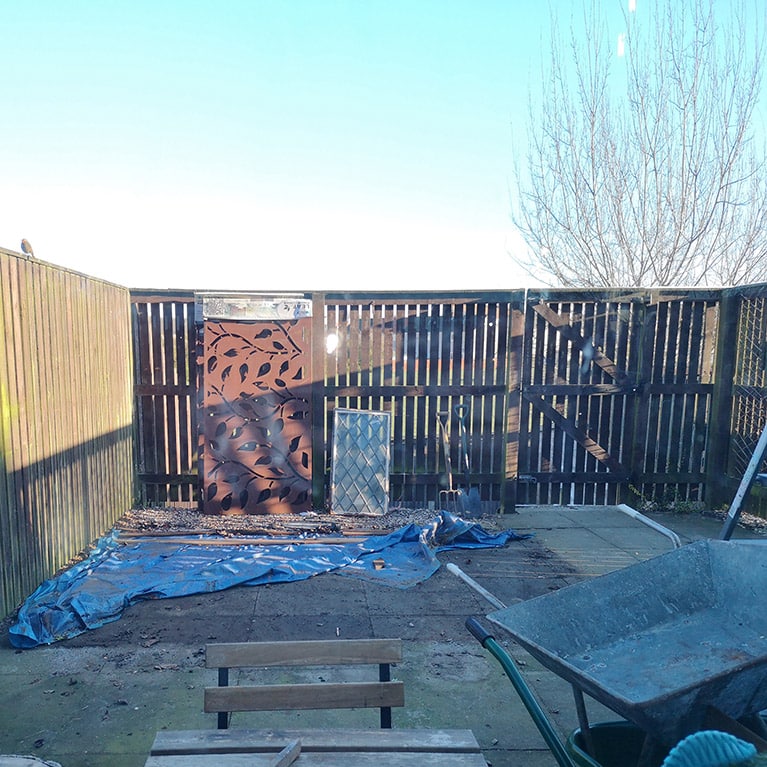
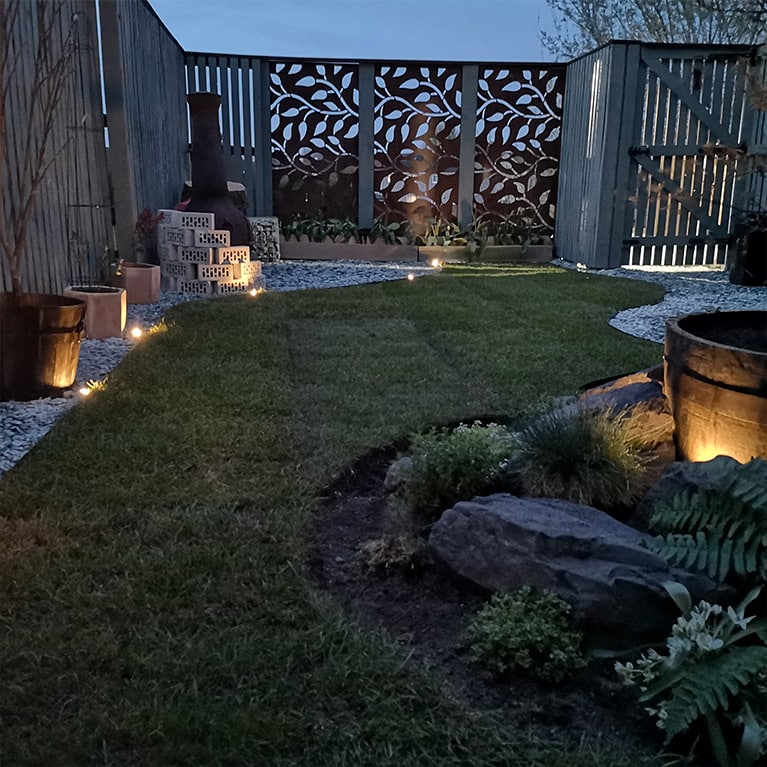
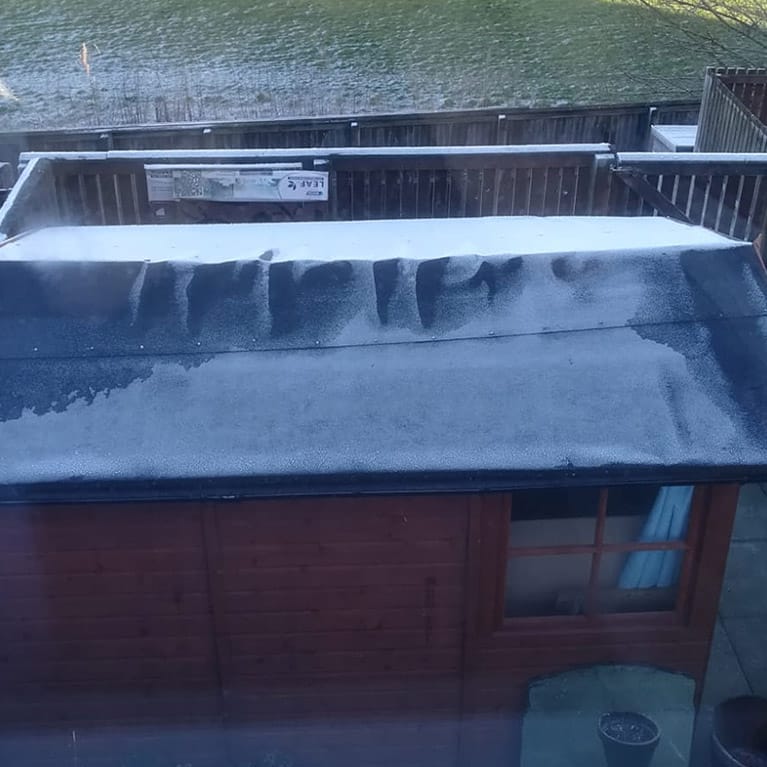
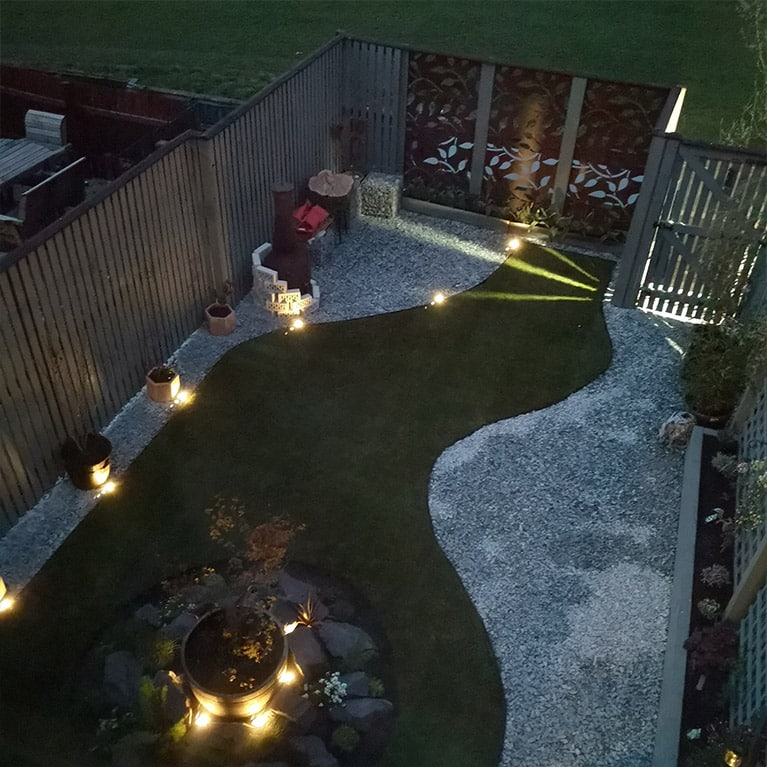
Our tips for designing your own garden
Do's
- Think about the time of year to start. We started in February when it was VERY cold, but it meant we enjoyed the garden all summer long. The time of year will affect the availability of plants and turf, so think carefully about the best time to start.
- Be brave. Make a statement with a colour or a plant or a design. We chose a vivid fence colour and used it throughout the garden to tie everything together.
- Think about the future. Try to future proof your garden so you can enjoy it in years to come. For example, don’t concrete in patio slabs if you think you’d maybe like grass at some point, as this will make life harder in the long run!
- Think about the elements. It’s lovely having a beautiful piece of designer garden furniture until the rain ruins it or the sun bleaches it. Think about how your garden will change with the elements. If you get a lot of wind, bear that in mind when buying plants, if you get lots of sun, try to source a shady spot for sitting on hot days. By designing your garden with weather in mind, you’ll enjoy it for years to come.
Dont's
- Don’t try to cram too many ideas into one space. It can be really hard to reign yourself in. Don’t try to have a river and a pond and a Japanese garden and a rose garden and an orchard all in one small space. Whether you unite separate spaces with the same plants or the same colour, doing so will make your garden feel bigger.
- Don’t skimp on everything. Even on a budget, you expect to spend some money. We refused to pay for some things I regret with hindsight. We spent 2 days compacting a large area with a sledgehammer rather than spend £40 for a whacker. Splash out on things that will make you happy or keep your back in tact. You won’t regret it.
- Don’t forget to enjoy it. Enjoy each stage rather than seeing it as a relentless journey to the finish line. Building something yourself can be magical, so relish it!


